
How to Automatically Build an Org Chart with Data
Making organizational charts is typically done by hand. This seems like a waste of time when most organizations have data that could be used to automatically create org charts.
The trick is to know exactly what data you need. Once you know that, you can compare organization chart software packages that can automatically create all of the boxes and lines you need for your next org chart.
![]()
What data do I need to build an org chart?
First, you need everyone’s name in your organization.
- Make sure each name is split into a columnn for first names and a column for last names. This allows you to decide to show “FirstName LastName”, “LastName, FirstName”,or just “Lastname” in your org chart.
- Find (or just create) a unique number for each person. Add this to a new column with the headline “Person ID”. This avoids confusion if two people have the same name or one person is in your list twice.
Second, you need all the positions in your organization.
- In a column next to everyone’s name, add the name of their position. It’s worthwhile to make consistent names. For example, if a group of people are “Vice Presidents”, try to avoid labeling some of them “VP” while others are “V. President” or “V.P.”
- Just like you did with everyone’s name, find (or create) a unique number for each position. Add this to a new column with the headline “Position ID”. When so many people have the same position name, it’s important to be clear about the difference between a VP who works with sales in New York and a VP who works with HR in London.
Optionally, you could also add the names of all of the units/departments/divisions in your organization
- In a column next to all of the position names, you can choose to add the name of the unit that each position is a part of. For instance, Finance, HR, IT, Operations, Sales, etc.
- Add a unique number to each unit name. Add this to a new column with the headline “Unit ID”. For example, label Finance as number 1, HR as number 2, and so on.
Once my org chart is automatically generated, how to I keep my data up-to-date?
All good org chart software vendors will be sure to separate between the information you provided, and the information that is added automatically by the software. For instance, if you want to export your data from the software, you’ll need to know the original Person ID, Position ID, and Unit ID you created. Likewise, if you want to move data around in the org chart software, it’s very helpful to have another set of ID’s that are unique to the software.
For example, you created a position with the Position ID 33. You’ll need that number to connect that position to your other systems like HR, Finance, or Payroll. But in the org chart software, it’s helpful to have another unique number called “Software Position ID” that can be used in making different scenarios, cloning, or editing.
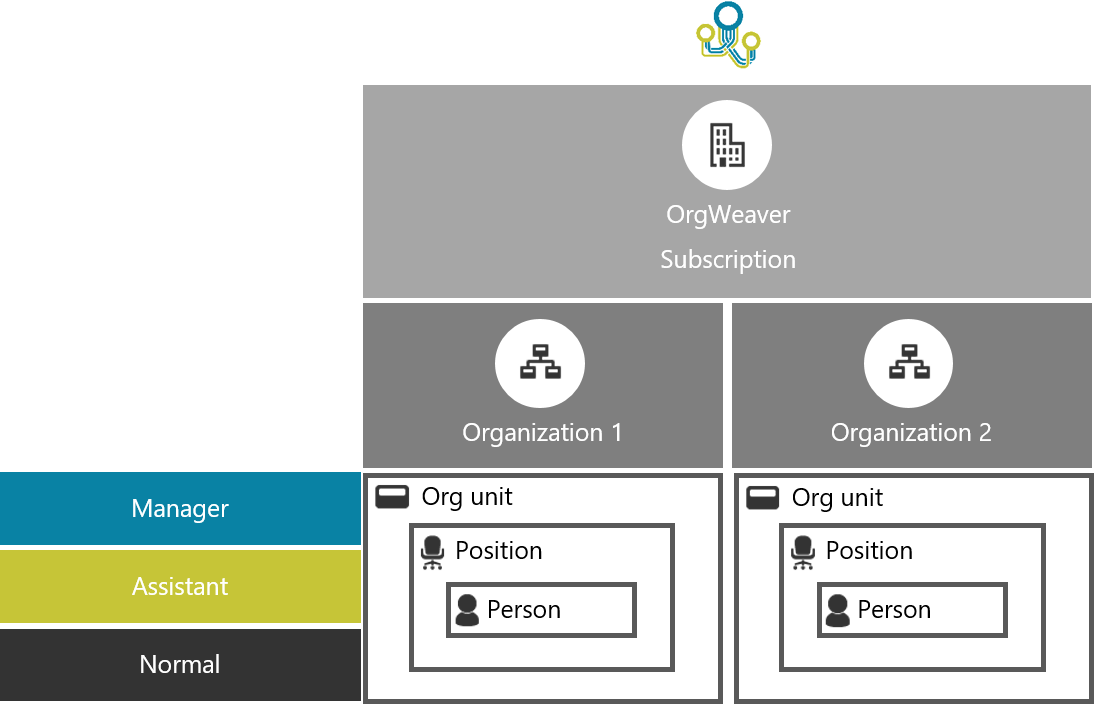
Understanding your data in OrgWeaver
If you have an OrgWeaver account and want to watch a video explaining how ID’s work specifically in our org chart software, just log-in and click the “Tutorials” button. In tutorials, you’ll find a button called “How your data works”.